Your First Sourdough Loaf: A Beginner's Confidence-Building Guide
Embark on your sourdough journey with this encouraging, step-by-step guide designed specifically for first-time bakers. Learn to create a thriving starter, understand the magic of fermentation, and bake a beautiful loaf with confidence.
There's something deeply satisfying about baking your own sourdough bread. The tangy aroma filling your kitchen, the crackling crust as it cools, the tender crumb when you slice into it—these are rewards that make the journey worthwhile. If you're reading this, you're probably curious about sourdough but perhaps a bit intimidated by the process. Don't worry! This guide will walk you through every step, from creating your starter to pulling your first loaf from the oven, with plenty of encouragement along the way.
Sourdough baking is as much about patience and observation as it is about following a recipe. Unlike commercial yeast, which works quickly and predictably, sourdough relies on wild yeast and beneficial bacteria that you'll cultivate in your own kitchen. This living culture, called a starter, becomes the heart of your bread-making practice. While it might seem mysterious at first, you'll soon develop an intuitive understanding of how your starter behaves and what your dough needs at each stage.
Creating and Nurturing Your Sourdough Starter
Your sourdough starter is a living ecosystem of wild yeast and lactic acid bacteria. Creating one from scratch takes about 5-7 days, but the process is surprisingly simple. All you need is flour, water, and a bit of patience. The wild yeast naturally present in flour and in your kitchen environment will colonize the mixture, creating the fermentation power you need to make bread rise.
To begin, mix equal parts flour and water by weight in a clean jar. A good starting point is 50 grams of whole wheat or rye flour (which contains more wild yeast than white flour) with 50 grams of room-temperature water. Stir well until no dry flour remains, cover loosely with a cloth or lid, and leave it at room temperature. Over the next few days, you'll feed your starter daily by discarding half and adding fresh flour and water in the same proportions.
What to Look For in a Healthy Starter:
- Bubbles throughout the mixture, not just on top
- A pleasant, tangy smell (like yogurt or beer, not rotten)
- Doubling in volume within 4-8 hours after feeding
- A dome-shaped top when at peak activity
- Consistency similar to thick pancake batter
During the first few days, you might see some activity that then seems to disappear. This is completely normal! Around day 3 or 4, the initial burst of bacterial activity often gives way to a quieter period before the yeast population establishes itself. Don't give up—keep feeding consistently, and by day 5 or 6, you should see reliable rising and falling patterns. Your starter is ready to bake with when it consistently doubles within 4-8 hours of feeding and passes the "float test" (a small spoonful floats in water when the starter is at its peak).
Understanding Fermentation: The Science Made Simple
Fermentation is the magical process that transforms simple ingredients into complex, flavorful bread. When you mix your active starter with flour and water, the yeast begins consuming sugars in the flour, producing carbon dioxide gas and alcohol. This gas gets trapped in the gluten network you develop through mixing and folding, causing your dough to rise. Meanwhile, the bacteria produce lactic and acetic acids, which give sourdough its characteristic tangy flavor and help preserve the bread.
Temperature plays a crucial role in fermentation speed. Warmer environments (75-80°F) speed up the process, while cooler temperatures (65-70°F) slow it down. Many bakers prefer a slower, cooler fermentation because it develops more complex flavors. Don't worry about getting the temperature exactly right—your bread will ferment at whatever temperature your kitchen naturally maintains. You'll simply need to adjust your timing based on what you observe.
The key to successful fermentation is learning to read your dough rather than strictly following clock times. A properly fermented dough will have increased in volume by about 50%, feel airy and jiggly when you gently shake the container, and show visible bubbles on the surface and sides. When you poke it gently with a wet finger, the indentation should slowly spring back about halfway. These visual and tactile cues are far more reliable than any timer.
The Two Stages of Fermentation
Sourdough bread typically goes through two fermentation stages. The first, called bulk fermentation, happens after you mix your dough and perform a series of folds. This stage usually takes 4-6 hours at room temperature, though it can vary significantly based on your kitchen conditions and starter strength. During bulk fermentation, you'll perform several sets of "stretch and folds" to build gluten structure without traditional kneading.
The second stage, called proofing or final fermentation, happens after you shape your loaf. Many bakers prefer to do this stage in the refrigerator overnight (8-12 hours), which slows fermentation, develops flavor, and makes the dough easier to score before baking. Cold dough also creates better oven spring—that dramatic rise you see in the first few minutes of baking. However, you can also proof at room temperature for 2-4 hours if you prefer to bake the same day.
Your First Loaf: A Simple Timeline
Let's walk through a basic timeline for your first sourdough loaf. This schedule assumes you're starting in the morning and will refrigerate your shaped loaf overnight for baking the next day. Remember, these times are approximate—always trust your observations over the clock.
Day 1: Mixing and Bulk Fermentation
8:00 AM - Feed Your Starter
Take your starter from the refrigerator (if stored there) and feed it with equal parts flour and water. Let it sit at room temperature until bubbly and doubled, usually 4-6 hours.
1:00 PM - Mix Your Dough (Autolyse)
Combine 500g bread flour with 350g water. Mix until no dry flour remains. Let rest for 30-60 minutes. This autolyse period allows flour to fully hydrate and begins gluten development.
2:00 PM - Add Starter and Salt
Add 100g active starter and 10g salt to your dough. Mix thoroughly by squeezing and folding until well incorporated. The dough will feel shaggy and rough—this is normal.
2:30 PM - First Set of Folds
Wet your hands, grab one side of the dough, stretch it up, and fold it over itself. Rotate the bowl 90 degrees and repeat. Do this four times (once on each "side"). Cover and rest.
3:00 PM, 3:30 PM, 4:00 PM - Additional Fold Sets
Repeat the folding process every 30 minutes for three more sets. You'll notice the dough becoming smoother, stronger, and more elastic with each set.
4:30 PM - 7:30 PM - Rest Period
Let the dough rest undisturbed. It should increase in volume by about 50%, feel jiggly, and show bubbles on the surface. This might take 3-4 hours, or longer if your kitchen is cool.
7:30 PM - Pre-Shape
Turn the dough onto a lightly floured surface. Gently shape it into a round by folding the edges toward the center. Let rest for 20-30 minutes.
8:00 PM - Final Shape
Shape your dough into a boule (round) or batard (oval). Place seam-side up in a floured banneton or bowl lined with a floured towel. Cover and refrigerate overnight.
Day 2: Baking
8:00 AM - Preheat Oven
Place your Dutch oven (with lid) in the oven and preheat to 500°F (260°C). Let it heat for at least 45 minutes to ensure it's thoroughly hot.
9:00 AM - Score and Bake
Turn your cold dough onto parchment paper. Score the top with a sharp blade or lame. Carefully transfer to the hot Dutch oven, cover, and bake for 20 minutes. Remove lid, reduce heat to 450°F (230°C), and bake 25-30 minutes more until deep golden brown.
9:50 AM - Cool Completely
Remove bread from Dutch oven and cool on a wire rack for at least 1 hour before slicing. The interior continues cooking as it cools, and cutting too early will result in a gummy texture.
Visual Cues: Learning to Read Your Dough
One of the most important skills in sourdough baking is learning to observe and respond to what your dough is telling you. Every kitchen is different, and factors like temperature, humidity, flour protein content, and starter activity all affect how your dough behaves. Here are the key visual and tactile cues to watch for at each stage.
During Bulk Fermentation
Your dough should transform from a shaggy, rough mass into a smooth, elastic ball. After your fold sets, you'll notice it becoming more cohesive and holding its shape better. As fermentation progresses, look for these signs: the dough should have a slightly domed top, feel airy and light when you gently lift the container, and show visible bubbles both on the surface and through the sides of your container (if it's clear). The volume should increase by roughly 50%—if you started with dough that came halfway up your container, it should now reach about three-quarters of the way up.
The "poke test" is your best friend here. Gently press a wet finger about half an inch into the dough. If it springs back immediately and completely, it needs more time. If the indentation stays completely and doesn't spring back at all, you've likely over-fermented. The sweet spot is when the indentation slowly springs back about halfway—this indicates your dough is ready for shaping.
After Shaping and Proofing
A properly proofed loaf will have expanded noticeably in your banneton or bowl. When you gently press the surface, it should feel soft and pillowy, like a marshmallow, but still have some resistance. If you're proofing in the refrigerator, the dough will be firmer due to the cold temperature, but it should still show these characteristics once it warms up slightly. The surface might show some small bubbles, which is a good sign of active fermentation.
When you turn the dough out onto parchment paper for scoring, it should hold its shape well without spreading too much. If it spreads significantly and looks flat, it may be over-proofed. If it feels very tight and doesn't relax at all, it might need a bit more time. Don't worry too much about getting this perfect on your first try—even slightly under or over-proofed bread will still taste delicious, and you'll learn from each bake.
Common Beginner Mistakes and How to Fix Them
Every sourdough baker has made mistakes—they're an essential part of the learning process. Here are the most common issues beginners face and practical solutions for each one.
Dense, Heavy Loaf
If your bread comes out dense with few air pockets, the most likely culprit is under-fermentation. Your dough simply didn't have enough time to develop the gas bubbles needed for a light, airy crumb. Solution: Give your dough more time during bulk fermentation. Remember, the times in recipes are guidelines—your dough might need an extra hour or two, especially if your kitchen is cool. Make sure your starter is truly active and bubbly before you use it. A weak starter won't have the power to properly leaven your bread.
Flat Loaf That Spreads
A pancake-like loaf that spreads out instead of rising up usually indicates over-fermentation or insufficient gluten development. Over-fermented dough has exhausted its food supply and the gluten structure has begun to break down. Solution: Watch your dough more carefully during bulk fermentation and don't let it go too far. Also, make sure you're performing enough stretch and folds to build adequate gluten structure. If your dough feels very slack and extensible (stretches easily but doesn't spring back), it might benefit from an extra fold set or two.
Gummy, Wet Interior
If your bread looks beautiful on the outside but has a gummy, under-baked interior, you likely didn't bake it long enough or cut into it too soon. Solution: Bake your bread until it's deeply golden brown—don't be afraid of color! The internal temperature should reach about 205-210°F. Most importantly, let your bread cool completely before slicing. This is perhaps the hardest part of sourdough baking, but it's crucial. The interior continues to cook and set as it cools, and cutting too early releases steam that should stay trapped inside.
Pale Crust with Poor Oven Spring
If your loaf doesn't rise much in the oven and has a pale, soft crust, your oven probably wasn't hot enough or you didn't create enough steam. Solution: Make sure your Dutch oven is thoroughly preheated—at least 45 minutes at 500°F. The initial blast of heat is what creates that dramatic oven spring. The lid of the Dutch oven traps steam from the dough itself, creating the humid environment needed for the crust to stay flexible and allow maximum expansion. If you're not using a Dutch oven, you'll need to create steam another way, such as placing a pan of water in the bottom of the oven or spraying the loaf with water before baking.
Overly Sour Taste
While sourdough should have a pleasant tang, an overwhelmingly sour flavor usually means your dough fermented too long or at too warm a temperature. Solution: Shorten your bulk fermentation time slightly, or try fermenting in a cooler spot in your kitchen. You can also try feeding your starter more frequently to keep it milder, or using a higher ratio of starter to flour in your dough, which will speed up fermentation and reduce the time for acids to develop.
Remember: Every Loaf is a Learning Experience
Your first sourdough loaf probably won't be perfect, and that's completely okay! Even experienced bakers have off days. What matters is that you're learning to observe your dough, understand the process, and develop your intuition. Each bake teaches you something new about how flour, water, and time interact in your specific kitchen environment.
Keep notes on what you observe—the temperature of your kitchen, how long each stage took, what the dough looked and felt like, and how the final bread turned out. Over time, you'll develop a deep understanding of the process that no recipe can fully capture. Trust yourself, be patient, and enjoy the journey. The reward of pulling a beautiful, crackling loaf from your oven is worth every moment of learning.
Building Your Confidence: What Success Looks Like
As you embark on your sourdough journey, it's helpful to know what to aim for. A successful first loaf doesn't need to look like something from a professional bakery. Here's what you should realistically expect and celebrate.
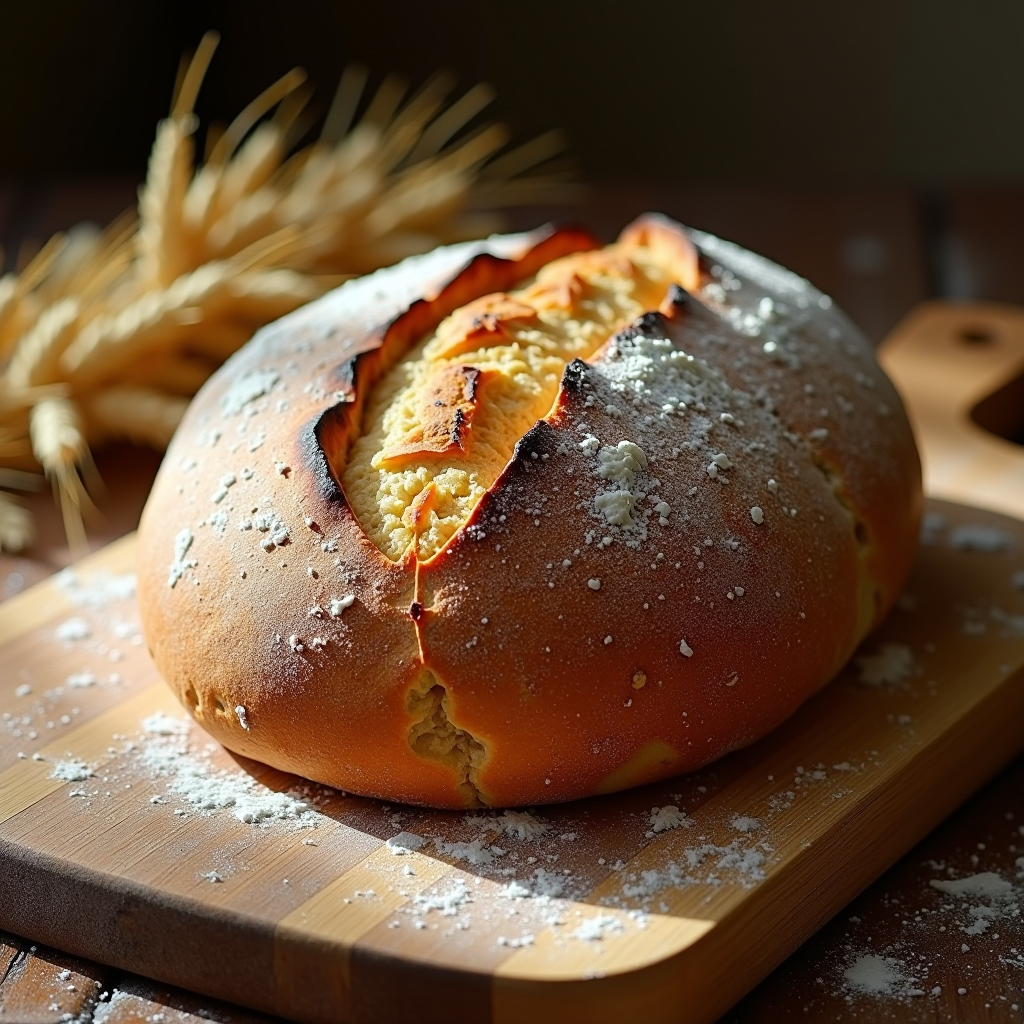
Your bread should have a golden to deep brown crust with some blistering and color variation—this shows proper baking and steam. When you tap the bottom, it should sound hollow, indicating the interior is fully baked. The crust should be crisp when fresh (it will soften after a day or two, which is normal). When you slice into it, you should see an irregular crumb structure with holes of various sizes. Don't expect the huge, Instagram-worthy holes on your first try—those come with practice and higher hydration doughs. What you want is a tender, chewy interior that's not dense or gummy.
The flavor should be complex and slightly tangy, with a pleasant wheaty taste. The texture should be chewy but not tough, with a crust that gives way to a soft interior. Most importantly, it should taste infinitely better than store-bought bread and fill you with pride that you created it from just flour, water, and salt.
Remember that sourdough baking is a skill that develops over time. Your tenth loaf will be better than your first, and your hundredth will be better still. Each bake teaches you something new about timing, temperature, and technique. Don't compare your bread to others—compare it to your last loaf and celebrate the improvements.
Your Next Steps in Sourdough Mastery
Once you've successfully baked your first loaf and understand the basic process, you can begin experimenting and expanding your skills. Try different flours—whole wheat, rye, spelt, or ancient grains—each brings unique flavors and textures. Experiment with add-ins like seeds, nuts, dried fruits, or herbs. Adjust the hydration level of your dough to create different crumb structures. Try different shaping techniques to make batards, boules, or even baguettes.
Most importantly, develop a regular baking rhythm that works for your schedule. Many bakers find that baking once or twice a week keeps their starter healthy and their skills sharp without becoming overwhelming. You'll develop your own preferences for timing, techniques, and flavors. Some bakers love a mild, sweet loaf while others prefer a tangy, complex flavor. There's no single "right" way to make sourdough—the best bread is the one you enjoy making and eating.
Welcome to the wonderful world of sourdough baking! You're joining a tradition that stretches back thousands of years, connecting you to countless bakers who have nurtured starters, shaped loaves, and shared bread with their communities. Your journey is just beginning, and every loaf you bake will deepen your understanding and appreciation of this ancient craft. Trust the process, be patient with yourself, and most of all, enjoy the delicious results of your efforts. Happy baking!