The Ultimate Guide to Restaurant-Quality Pizza Dough at Home
Making pizza dough from scratch might seem intimidating, but with the right techniques and understanding of the process, you can create restaurant-quality pizza at home that rivals your favorite pizzeria. This comprehensive guide will walk you through every step of the journey, from selecting ingredients to troubleshooting common problems.
Understanding the Science Behind Perfect Pizza Dough
The foundation of exceptional pizza starts with understanding what makes dough work. When you learn how to make pizza dough properly, you're essentially managing a delicate balance of flour proteins, water, yeast, and time. The gluten network that forms during kneading is what gives your dough its characteristic stretch and chew, while proper fermentation develops the complex flavors that separate homemade pizza from store-bought alternatives.
Professional pizzaiolos know that the key to mastering how to cook pizza begins long before the oven heats up. The dough-making process involves several critical stages: mixing, kneading, first rise, shaping, second rise, and finally baking. Each stage plays a vital role in developing texture, flavor, and that perfect crispy-yet-chewy consistency that makes pizza irresistible.
Temperature control is perhaps the most overlooked aspect when people first learn how to make pizza at home. Yeast is a living organism that thrives in specific temperature ranges. Too cold, and fermentation slows to a crawl; too hot, and you risk killing the yeast entirely. Room temperature water (around 70-75°F) is ideal for most recipes, allowing for a controlled, steady rise that develops flavor without rushing the process.
Essential Ingredients and Equipment
Before diving into the process of how to cook delicious pizza, let's talk about ingredients. High-quality bread flour with a protein content of 12-14% is your best choice for pizza dough. The higher protein content creates more gluten, resulting in that characteristic chewy texture. All-purpose flour can work in a pinch, but bread flour consistently delivers superior results.
Active dry yeast or instant yeast both work beautifully for pizza dough. Instant yeast can be mixed directly into flour, while active dry yeast benefits from being dissolved in warm water first. For a single batch making two 12-inch pizzas, you'll need approximately 2¼ teaspoons of yeast, 3½ cups of bread flour, 1½ cups of water, 2 tablespoons of olive oil, 2 teaspoons of salt, and 1 teaspoon of sugar to feed the yeast.
Equipment-wise, you don't need much to learn how to make pizza like a professional. A large mixing bowl, measuring cups and spoons, a wooden spoon or stand mixer with dough hook, plastic wrap or a damp towel, and a clean work surface are the basics. A pizza stone or steel dramatically improves your results by providing intense, even heat, though a preheated baking sheet works as a starting point.
The Step-by-Step Dough Making Process
Learning how to cook pizza starts with proper mixing. In a large bowl, combine your flour, yeast, and sugar. In a separate container, mix the water with olive oil. Create a well in the center of your dry ingredients and pour in the liquid mixture. Using a wooden spoon or your hands, begin incorporating the flour into the liquid, working from the center outward until a shaggy dough forms.
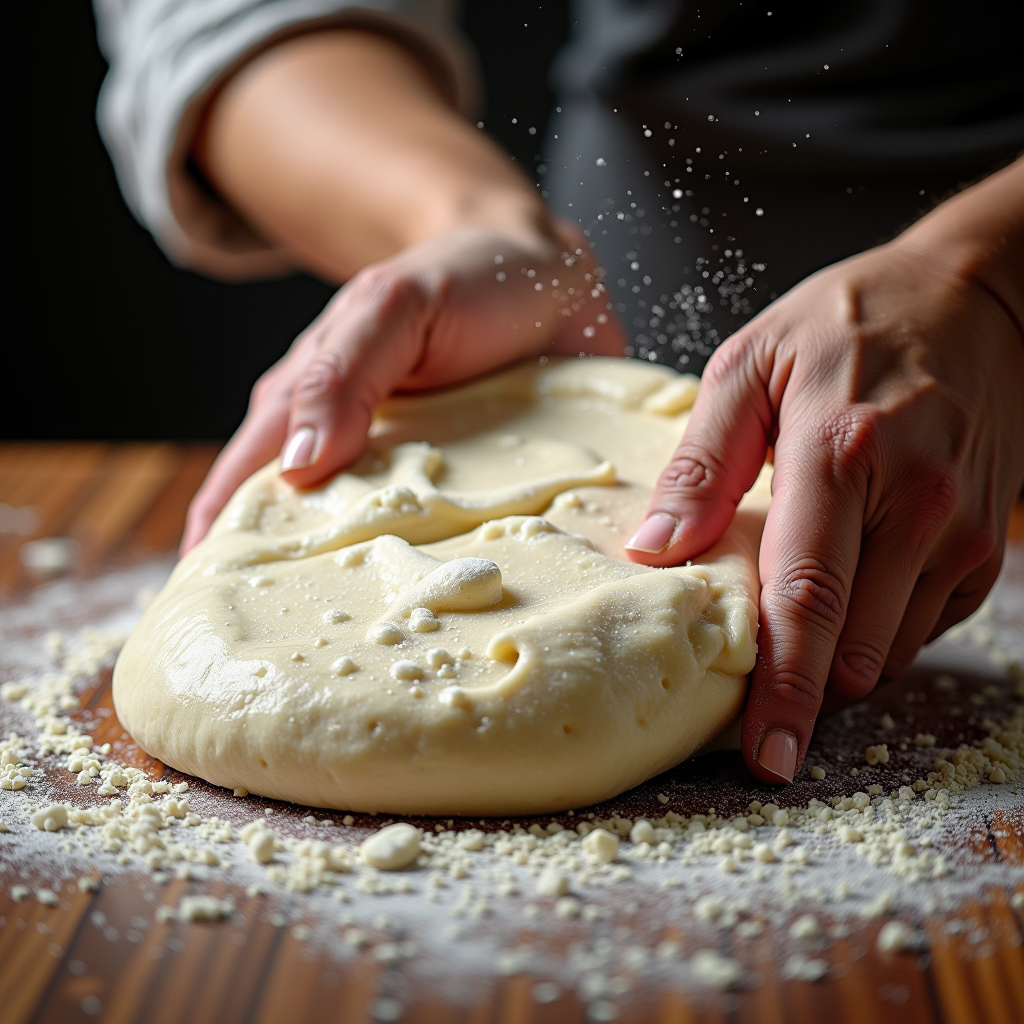
Now comes the crucial kneading phase. Turn your dough onto a lightly floured surface and begin kneading with the heel of your hand. Push the dough away from you, fold it back over itself, rotate a quarter turn, and repeat. This rhythmic motion develops the gluten network essential for great pizza. Knead for 8-10 minutes by hand, or 5-6 minutes in a stand mixer on medium speed. You'll know it's ready when the dough becomes smooth, elastic, and springs back when poked.
The first rise is where patience pays off in learning how to make pizza dough. Place your kneaded dough in a lightly oiled bowl, turning it to coat all surfaces. Cover with plastic wrap or a damp towel and let it rise in a warm, draft-free spot for 1-2 hours, or until doubled in size. This slow fermentation is when flavor develops, so resist the urge to rush this step. For even better flavor, you can refrigerate the dough for 24-72 hours, allowing for cold fermentation that creates complex, nuanced tastes.
Shaping and Stretching Techniques
Once your dough has risen, it's time to shape it. Gently punch down the dough to release excess gas, then divide it into two equal portions for 12-inch pizzas. Shape each portion into a smooth ball by pulling the edges underneath and pinching them together at the bottom. Let these dough balls rest for 15-30 minutes under a towel – this relaxation period makes stretching much easier.
When you're ready to learn how to cook your pizza, proper stretching technique is essential. Start by pressing the dough ball flat with your fingertips, leaving a slightly thicker border for the crust. Pick up the dough and let gravity help you – drape it over your knuckles and gently rotate, allowing the weight of the dough to stretch it naturally. Avoid using a rolling pin if possible, as this deflates the air bubbles that create a light, airy crust.
If the dough resists stretching or springs back aggressively, let it rest for another 5-10 minutes. The gluten needs time to relax. Work on a lightly floured surface, and don't worry about achieving a perfect circle – rustic, irregular shapes have their own charm and often indicate handmade quality. The goal is an even thickness of about ¼ inch, with a slightly thicker edge that will puff up beautifully during baking.
Troubleshooting Common Dough Problems
Even experienced home cooks encounter issues when learning how to make pizza. If your dough is too sticky, resist the urge to add excessive flour. A slightly tacky dough is actually ideal – it will become more manageable as gluten develops. If absolutely necessary, add flour one tablespoon at a time during kneading. Conversely, if your dough is too dry and crumbly, add water a teaspoon at a time until it comes together.
Dense, heavy pizza often results from insufficient kneading or rising time. Make sure you're kneading long enough to develop proper gluten structure – the dough should be smooth and elastic, not rough and shaggy. Similarly, don't rush the rising process. If your kitchen is cold, place the dough in a turned-off oven with just the light on, or near (not on) a warm stovetop to encourage rising.
Dough that tears easily during stretching usually indicates over-kneading or insufficient rest time. If you've kneaded properly but the dough still tears, let it rest longer before shaping. The gluten needs time to relax. On the flip side, dough that won't hold its shape and keeps shrinking back needs more gluten development – knead it a bit longer next time, or let it rest between stretching attempts.
Variations: Whole Wheat and Gluten-Free Options
For those interested in healthier alternatives while learning how to cook pizza, whole wheat dough offers a nutty flavor and added nutrition. Replace up to 50% of the bread flour with whole wheat flour. Note that whole wheat absorbs more water, so you may need to increase the liquid by 2-3 tablespoons. The dough will be slightly denser but still delicious, with a heartier texture that pairs beautifully with robust toppings.
Gluten-free pizza dough requires a completely different approach to how to make pizza. Use a gluten-free flour blend specifically designed for baking (not just a single flour like rice flour). These blends typically include xanthan gum or psyllium husk to mimic gluten's binding properties. Gluten-free dough won't be kneaded like traditional dough – instead, you'll mix it until just combined, then let it rest for 30 minutes before shaping.
The texture of gluten-free pizza will differ from traditional pizza, but it can still be excellent. Press the dough into your pan or pizza stone rather than trying to stretch it by hand. Par-bake the crust for 5-7 minutes before adding toppings to prevent sogginess. With practice, you'll discover that learning how to cook gluten-free pizza can yield results that satisfy even the most discerning pizza lovers.
Achieving the Perfect Bake
The final step in learning how to cook pizza is mastering the baking process. Preheat your oven to its highest setting – typically 500-550°F – for at least 30 minutes before baking. If using a pizza stone or steel, place it in the oven during preheating so it becomes scorching hot. This intense heat is crucial for achieving that characteristic crispy bottom and perfectly cooked toppings.
When you're ready to bake, work quickly to prevent heat loss. If using a pizza peel, dust it generously with cornmeal or semolina flour to prevent sticking. Slide your topped pizza onto the preheated stone with a quick jerking motion. If using a baking sheet, you can assemble the pizza directly on it. Bake for 8-12 minutes, rotating halfway through if your oven has hot spots, until the crust is golden brown and the cheese is bubbling.
The beauty of mastering how to make pizza at home is the endless customization possibilities. Once you've perfected the basic dough, experiment with different hydration levels (the ratio of water to flour) to achieve your preferred texture. Higher hydration creates a more open, airy crumb with larger holes, while lower hydration yields a denser, chewier crust. Keep notes on what works best for your taste preferences and oven setup.
Remember, learning how to cook restaurant-quality pizza at home is a journey, not a destination. Each batch teaches you something new about dough behavior, fermentation, and your specific oven's quirks. Don't be discouraged by initial imperfections – even professional pizza makers spent years perfecting their craft. With practice and patience, you'll soon be creating pizzas that rival your favorite pizzeria, all from the comfort of your own kitchen.
The satisfaction of pulling a perfectly baked pizza from your oven, with its golden crust, bubbling cheese, and aromatic toppings, is unmatched. You've taken simple ingredients – flour, water, yeast, and salt – and transformed them through technique and patience into something truly special. This is the magic of learning how to make pizza: it connects you to centuries of culinary tradition while allowing for personal creativity and expression.
As you continue your pizza-making journey, don't hesitate to experiment with different flour types, hydration levels, and fermentation times. Try adding herbs to your dough, or a touch of honey for subtle sweetness. Explore regional styles like Neapolitan, New York, or Detroit pizza, each with its own dough characteristics and baking methods. The more you practice how to cook pizza, the more intuitive the process becomes, until you can make adjustments by feel rather than strict measurement.